Make an Old Fashioned Dill Crock
“The way our forefathers lived offers clues on how different cultures used fermented foods (like yogurt and sauerkraut) not only as food preservatives, but also as support for intestinal and overall health.” Dr. Mercola, Fermented Foods Article
The staple of our ancestors has been gaining in popularity for its health benefits. Fermenting foods can be quite overwhelming idea to most people. Starting with a dill crock is the easiest and most rewarding way to begin! Some of the finest food in the world comes out of a dill crock. Dill crocks are easy to set up, practically anything goes in them and once you start one, you will never be without one. The kids will drive you crazy begging for those scrumptious vegetables in that jar! Yes, kids begging for vegetables.
My childhood was filled with vegetables and “weeds” my dad brewed up in the dill crock. He said purslane stems were my favorite!!!
And the best news, dill crocks are easy to do, maintain and practically free!
Dill crock basics:
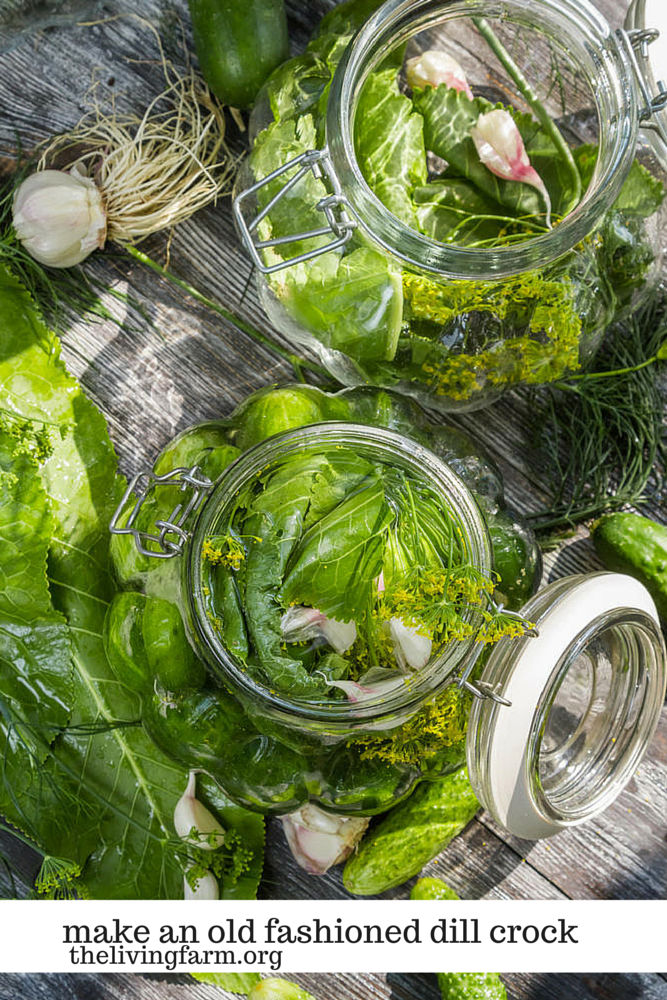
- The jar: I make all of our dill crocks in a glass gallon jar. They are cheaper than crocks, if you have a real crock you can use it, but you will miss out on the pretty designs you can make with the vegetables in the glass jar.
- The brine: I make brine by the gallon and have it on hand anytime I need more. For a 10% brine solution: mix 1½ cups pickling salt, 15 cups water and 3 cups cider vinegar. The brine will be used to cover all vegetables going into the crock. If the vegetables are too salty coming out of the brine, rinse them before serving.
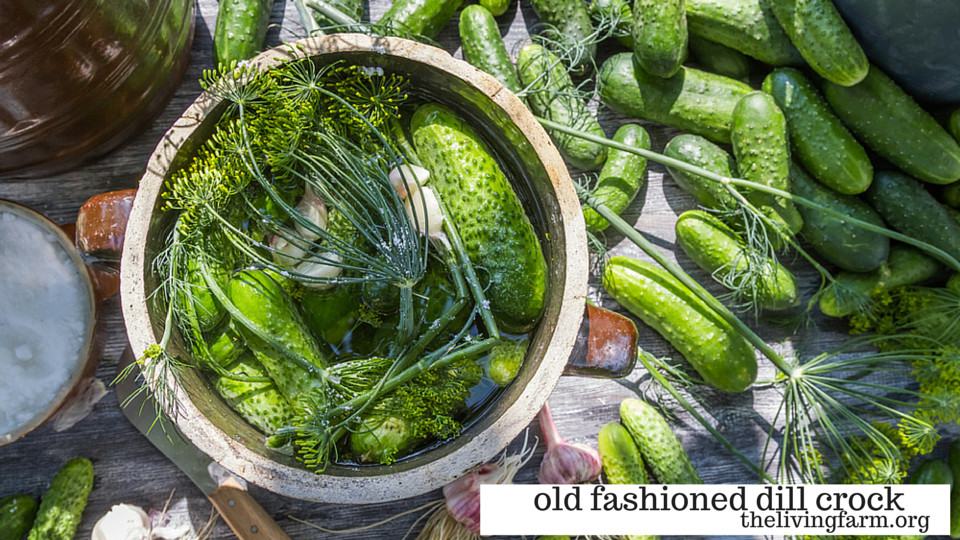
- Keeping the vegetables crisp: Place a layer of washed grape leaves in the bottom of your crock before starting. The grape leaves help keep the vegetables crisp.
- Dill: Use dill at the yellow flower stage for the best flavor. If you can’t find any dill in the yellow flower stage then use fresh dill stems or dill seeds. Place a layer of dill just on top of the grape leaves and another layer at the top of the jar.
- The vegetables: Almost any crisp vegetable you can imagine can go into a dill crock. Green beans are the only vegetables that require blanching for three minutes before putting the crock. I have put in carrots, green beans, peeled Jerusalem artichokes, onions, garlic, cauliflower florets, green tomatoes and sliced cucumbers. Other veggies to put in the crock are asparagus, peppers, nasturtium buds (they taste like capers), celery, leeks and kohlrabi.
Don’t limit yourself to this list, try other veggies, weeds and fruit. I know of someone who puts in just ripening cherries and peaches, he says they are the best!
My husband, who usually won’t touch cauliflower with a ten foot pole, devours it when it comes out of the dill crock. My favorite is the Jerusalem artichokes.
- Time: Once you have filled your dill crock with all the vegetables you want, pour on the brine and weigh all the vegetables down under the brine with a plate and a weight, like a rock or a ziploc bag of water. Set the crock in the dark at room temperature for two weeks. The crock may form a white scum on the top. The scum is normal and it means your pickles are working. Skim the scum off and dig in. I store my vegetables in the refrigerator after the flavor gets just right in the jar, usually around three weeks.
Dill crocks are the best way to enjoy the overabundance you can get at the end of the garden season and following these basic steps will have your whole family enjoying vegetables.