The Abundantly Easy Trellis
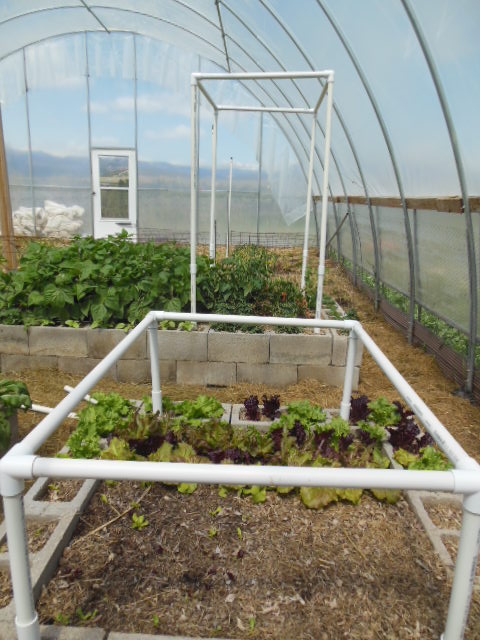
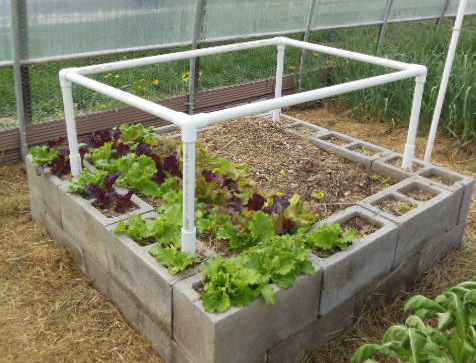
Trellis Like a ProfessionalGrowing your tomatoes and cucumbers vertically in your garden will save you a lot of space and will keep your tomatoes off the ground, so the fruit is visible and won’t rot. This cucumber and tomato trellis is one of the easiest trellises to make. This trellis can also be assembled at two levels to make it into a plant protector.
[Download the PDF version of this article.]


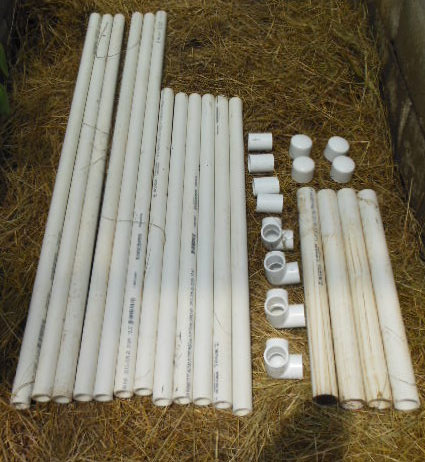
Here is your shopping list. If you ask real nice, the person at the store will even cut the pieces of pipe to size for you. This will make one trellis/plant protector. It will measure approximately 32 inches wide by 46 inches long and 15 to 60 inches tall. Make sure you get the correct pipe schedule (thickness of the side walls) or this will not fit together correctly.
- 4- 1 ¼ inch by 18 inch schedule 40 PVC pipe
- 6- 1 inch by 30 ½ inch schedule 40 PVC pipe
- 6- 1 inch by 44 inch schedule 40 PVC pipe
- 4 – 1 inch slip couplers schedule 40 PVC
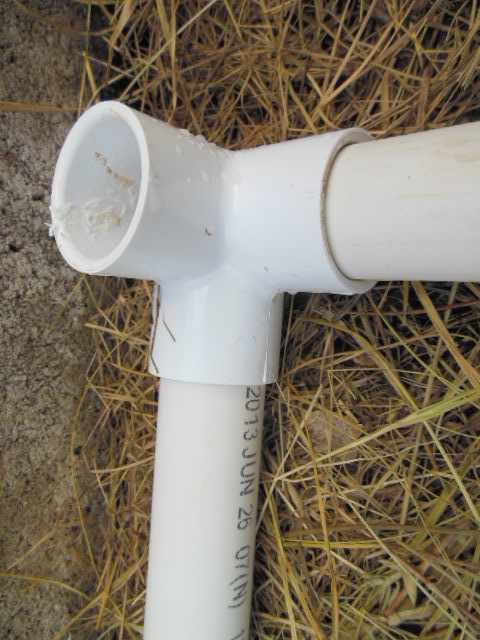
- 4 – 1 inch 90 degree elbow with a side outlet schedule 40 PVC
- 4- 1 ¼ caps schedule 40 PVC (optional)
No need to glue anything together. Just push the parts together and at the end of the season, you can pull it apart for storage.
- First, make sure you have gathered all your parts.
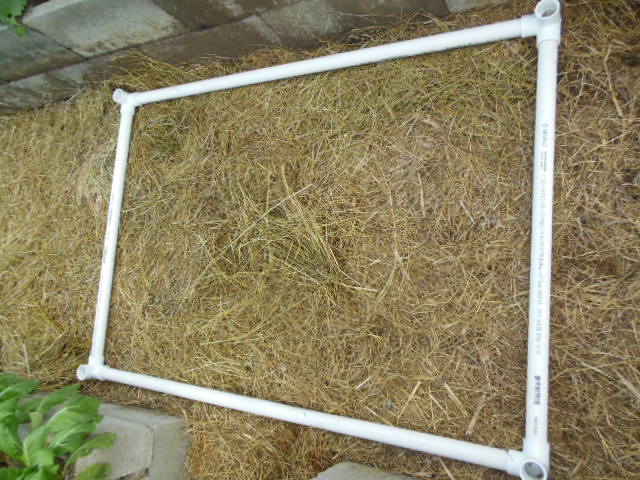
- Pre-assemble the top. Find 4- one inch 90 degree elbow with side outlet. Put one on each end of two of the one inch by 30 ½ in pieces. Point all the side outlets down.
- Next, put two of the 1 inch by 44 inch long pieces into the 90 degree elbows to make a rectangle.
- Take the preassembled top and push it slightly into the soil, where you want your trellis to go, to make a print of where to put the base pieces in to hold up the trellis.
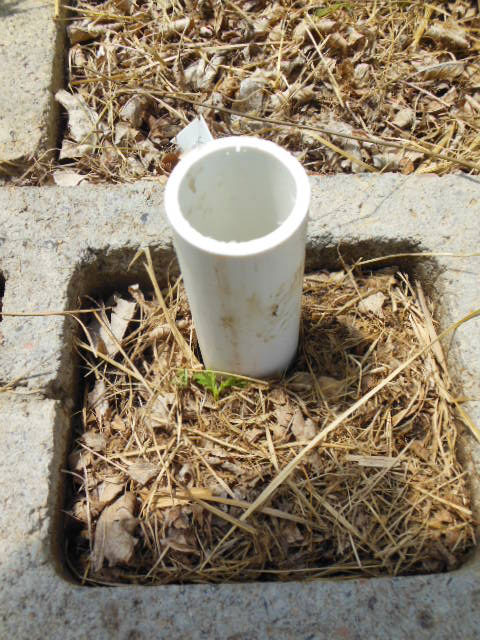
- Next, put the base pieces into the soil. The base pipes are the 4 – 1 ¼ inch by 18 inch PVC pieces. You will need to push down the base piece 15 inches into the soil. If you are in a cinderblock bed with the secret soil mix, you can just push the pieces in with your hands. Then pull the pipe out gently and empty the soil out of the pipe. Then replace the base piece back into the hole. Do this for all 4 base pieces. If you are in hard garden soil. You will need to dig the hole out then put in your base piece and fill the hole in around the base.
- Next, drop a 1 inch by 30 ½ inch piece into each base.
- If you are making a plant protector then you can now put your top on and cover with plastic or cloth depending on what you want to protect the plants from. If you want a taller plant protector then put the 44 inch pieces in instead of the 30 ½ inch pieces.
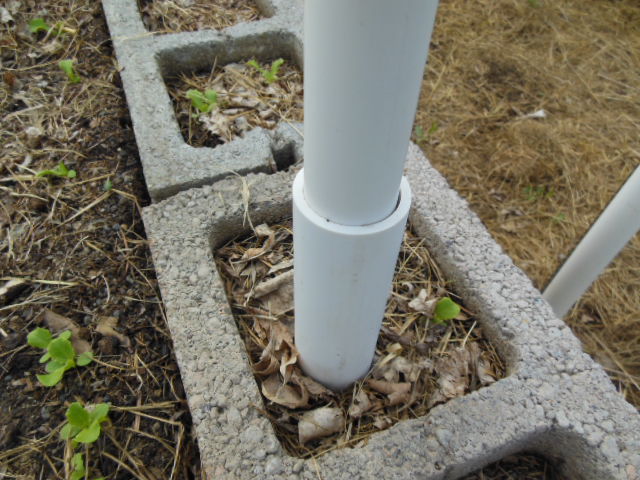
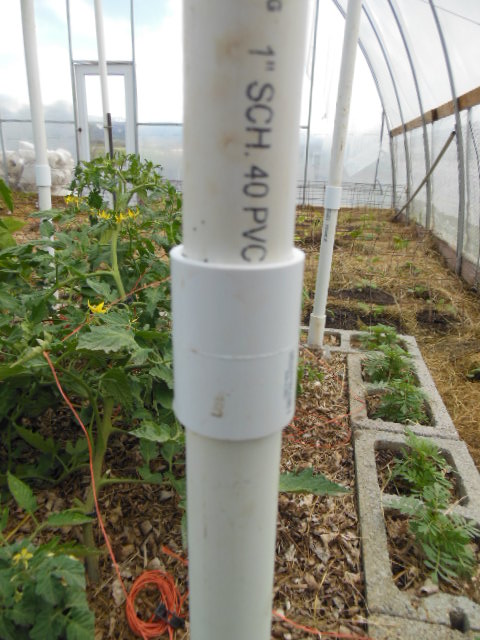
- If you want the trellis at full height then put a coupler on to each 30 ½ inch legs then add the 44 inch piece to each leg.
- Place your top on and give all the joints a good shove to make the unit tight. You are now done.
- If you live in a windy area you can tether the trellis to the ground if needed.
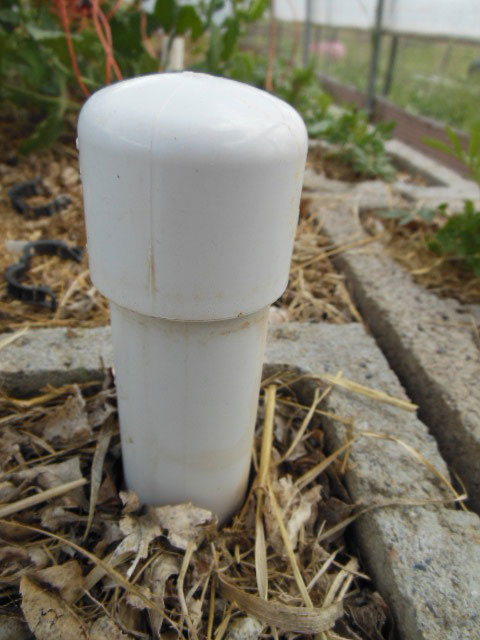
At the end of the season, when it is time to take down your plants, you can put the 1 ¼ inch end caps on your base pieces to keep the soil out of the holes. Store your pieces in a clean dry place out of the sun.